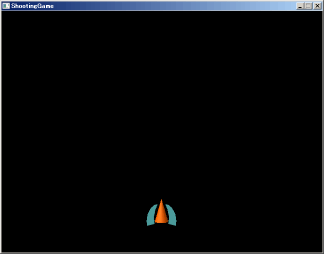
第1回:プレイヤーを画面に表示する
第1回目からはゲーム主人公となるプレイヤー戦闘機のクラスを作成することにします。
#pragma once

#include "GameDef.h"

class CCharactor : public CGameObject
{
public:
    CCharactor();

protected:
    CSprite sprite;
    float x, y;

public:
    float GetPosX(){ return x; }
    float GetPosY(){ return y; }
};
#include "Charactor.h"

CCharactor::CCharactor()
{
    x = y = 0.0f;
}#pragma once
#include "Charactor.h"
#define PLAYER_PRIORITY 50000
class CPlayer : public CCharactor
{
public:
CPlayer();
private:
CTexture tex_player;
protected:
virtual void Init();
virtual void Exec();
};#include "Player.h"
CPlayer::CPlayer()
{
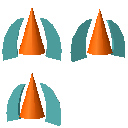
tex_player.Load(_T("data\\player.png"));
sprite.SetTexture(&tex_player);
sprite.SetSpriteSize(64, 64);
}
void CPlayer::Init()
{
x = 320.0f;
y = 400.0f;
}
void CPlayer::Exec()
{
sprite.Draw(x, y);
}
画像の用意が完了したら、winmain.cppに次のコードを追加します。
#include "GameDef.h"
#include "Task.h"

// プレイヤークラスのインクルードを忘れずに!
#include "Player.h"

/* 省略 */

int APIENTRY _tWinMain
(HINSTANCE hInstance, HINSTANCE hPrevInstance,
 LPTSTR lpszCmdLine, int nCmdShow)
{
    /* 省略 */

    CGameObject game;
    CoInitialize(NULL);
    game.Initialize(mainWnd, hInstance);
    CSound::CreateDirectSound(mainWnd);

    game.AppendObject(new CTaskHead(), 0, true);
    game.AppendObject(new CTaskTail(), INT_MAX, true);

    // この一行を追加
    game.AppendObject(new CPlayer(), PLAYER_PRIORITY, true);

    ShowWindow(mainWnd, nCmdShow);

    /* 省略 */
}